Building in Public: Day 6 - Designing the Prototype
Building the MVP Version as Simple as Possible
With the site domain and social accounts ready, it’s time to prototype the MVP (Minimum Viable Product) version in earnest.
The prototype webpage Claude whipped up on day one had decent design but was text-only and didn’t properly implement story branching.
The MVP development approach determined when we established the 100-day plan on day two is as follows:
- Develop separately as
Story Pack GeneratorandService Website- Story Pack Generator: Generate interactive version classic novel content (story packs) using AI
- Service Site: Serve story packs generated by the content factory module as a static site
- Content factory’s story pack generation uses appropriate AI based on content type
- Claude: Text generation for story nodes and branches, agent role managing story pack creation process
- Gemini (Nano Banana): Generate illustration images for each story node
- Music generation AI (Suno?): Generate background music ← Excluded from first MVP version
- Service site uses Astro from SSG (Static Site Generator) frameworks, which I’m familiar with from work
- MVP version doesn’t consider features like user login, so no backend like database is needed
Once the initial version of the story pack generator creates the first content, we apply that story pack to the equally initial version of the website to produce the first MVP version.
Afterwards, we’ll iterate through multiple rounds of testing and improvements to enhance the completeness of both content and website.
Story Pack Generator Design
Following the MVP development sequence, before building the story pack generator, we design how the module operates and how story pack data is structured.
Basically, the story pack generator’s operation is: input the title of the content to generate (one of the classic novels), and it outputs the interactive version storylines and illustration images for each page.
Story pack generation is done in a local environment to produce results, so we use Claude Code, which is suitable for CLI environments. The process of adding generated story packs to the static website will also proceed through Claude Code.
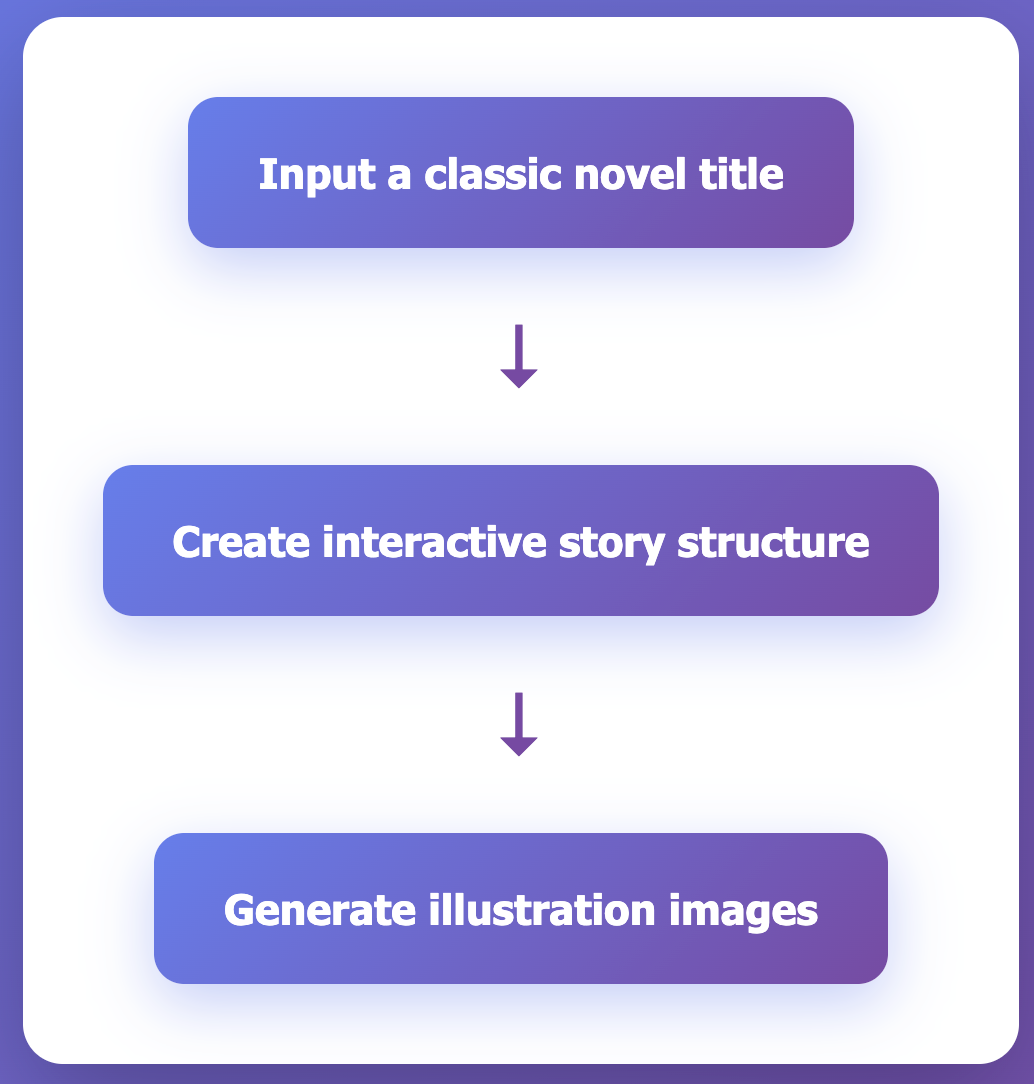
Breaking down the story pack generation process in detail:
Creating Story Structure
When I tell Claude the title of a classic novel for which to generate a new story pack, Claude divides the plot of that novel by key points to compose story nodes.
Scene Pages Display Without Scrolling
One story node becomes one scene page in the website later, and one scene should be readable without scrolling on a mobile browser screen. Since the screen must also display an illustration image, I limited the text length of one node to a maximum of 75 words as Claude suggested.
Normal Nodes, Branch Nodes, Ending Nodes
Each story node is classified into the following types based on its position and role in the overall story:
- Normal Node: A node with only one next node. The scene page has only a ‘Next’ button without user choice. The starting node also belongs to this type.
- Branch Node: A node where story branching occurs. Users move to one of several next nodes based on their choice.
- Ending Node: A node where the story completes with no next node. It displays the ending that changed based on user choices and the corresponding
personality type. Generate at least 4 endings to increase replayability and refine personality types.
Under 3 Minutes from Start to Ending
Although classic novels vary in length and originals are at least hundreds of pages, we adjust text length so that progressing through one story to the ending takes approximately 3 minutes, for users accustomed to mobile environments and short-form content.
According to Claude, considering the words per node (maximum 75 words) and time per playthrough (3 minutes) that we set above, approximately 12-15 nodes per storyline (start->ending) is appropriate.
Generating Story Structure File
The story structure file is created in json format, consisting mainly of metadata (title, author, publication year, etc.) and a story node array.
The structure of a story node designed with Claude’s help is as follows (for a normal node):
{
  "nodeId": "chapter1_start",
  "pageType": "normal",
  "text": "Alice sits by her sister on the riverbank, drowsy and bored. Suddenly, a White Rabbit with pink eyes runs close by her, consulting a watch from its waistcoat-pocket before hurrying on.",
  "artPrompt": "Whimsical fantasy illustration of a young girl, Alice, in a blue dress, looking surprised at a frantic White Rabbit in a waistcoat holding a pocket watch. Sunny riverbank setting, storybook style.",
  "original": true,
  "nextNodeId": "chapter1_choice1"
}- nodeId: Short string used to distinguish each node and link to the next node
- pageType: Node type (normal, branch, ending)
- text: Text to be displayed on the scene page
- artPrompt: Prompt for generating illustration image depicting that scene
- original: Distinguishes whether that storyline is the original story or a new story
- nextNodeId: Node to move to when clicking the
Nextbutton
Creating Illustration Images
There are three types of illustration images needed for the story pack:
- Cover image: Used in content list and detail page (screen before story starts)
- Scene images: Display images based on each scene text to aid understanding
- Ending images: Depict each ending as a single image
All illustration images must suit the time period of the original novel’s setting while maintaining visual consistency throughout the storyline (character faces, costumes, etc.).
To achieve this, after phase 1 story composition, we add a style guide prompt for image generation and characteristics by major character to the json story file.
Detailed Process
I organized the detailed process of story pack generation as a diagram.
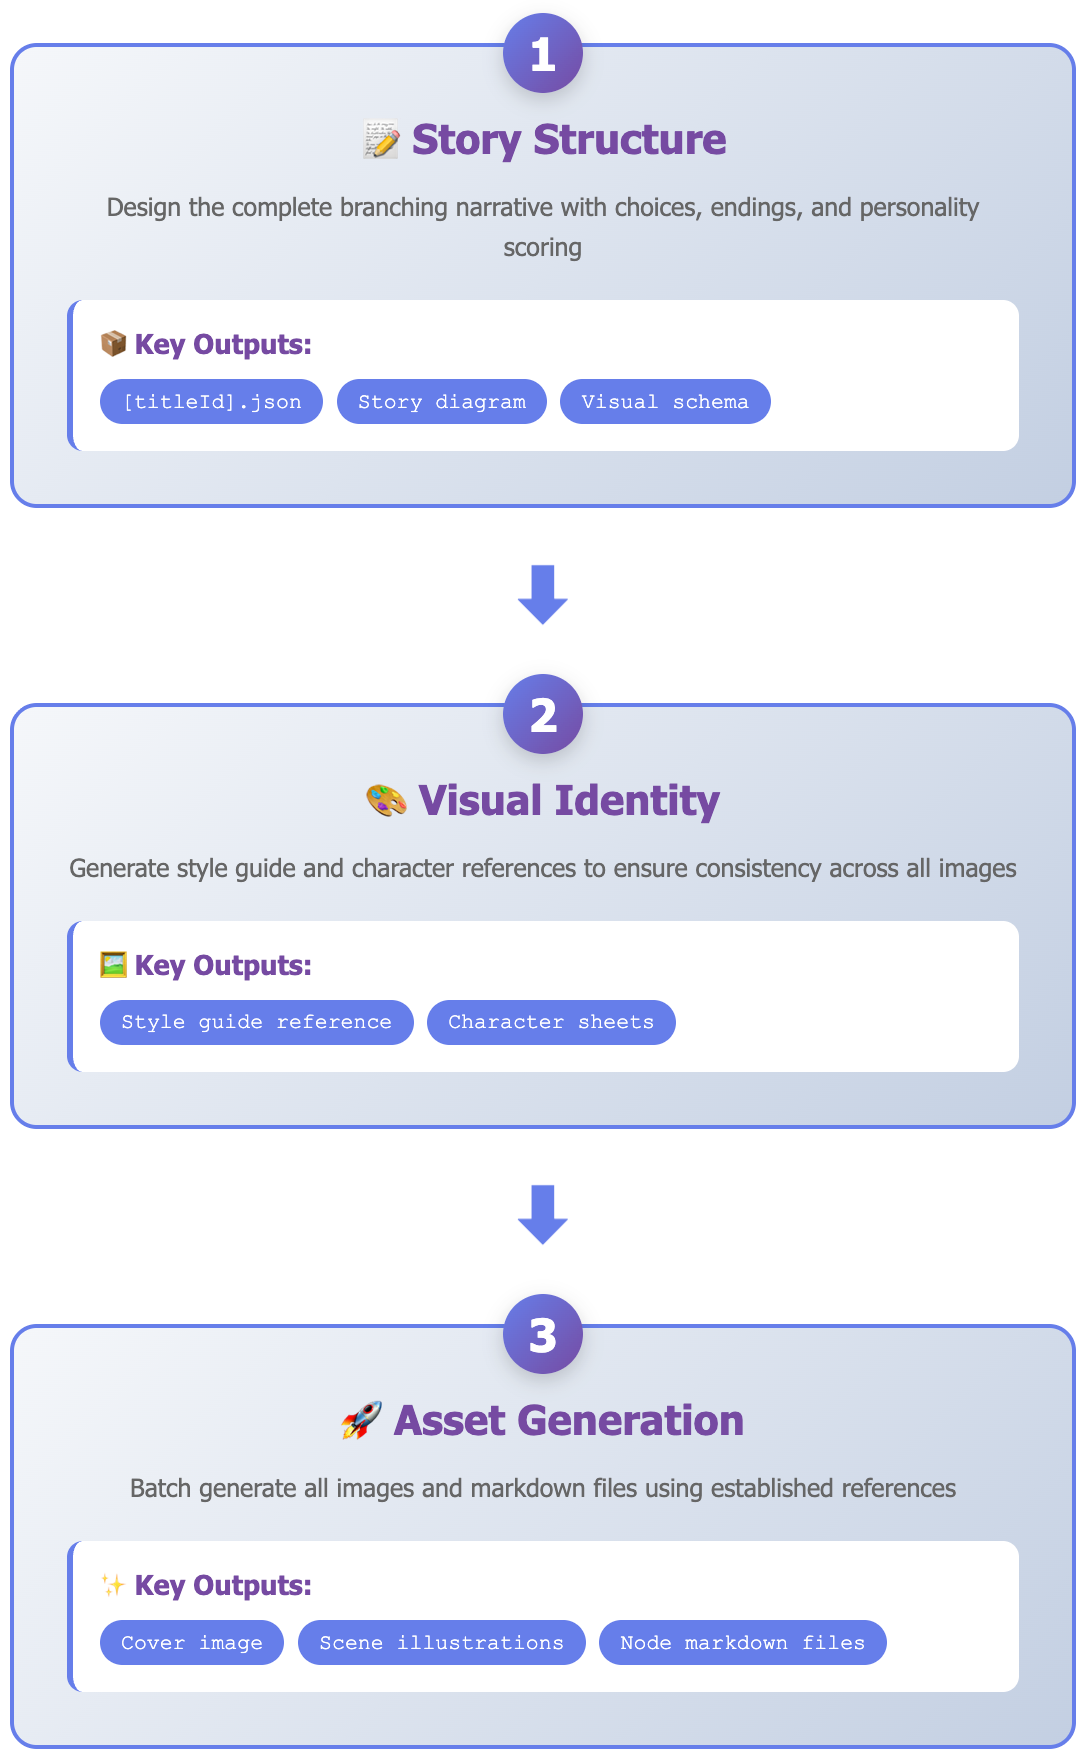
Next, I’ll build the actual story pack generator according to this design.